|
Fun With Borders
Download Supplies
Here
Includes Fairy Image used for tutorial and
Font
Adding a border to your
image adds a creative touch. We have been
adding a
plain border in the last 3 lessons.
This tutorial will show
you how to add a different texture, inner bevel
and drop shadow.
1. Place your
supplies in the My Documents folder.
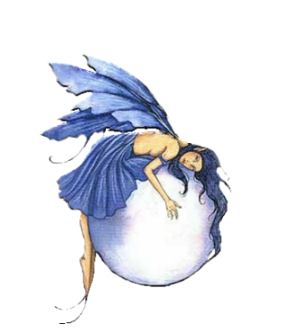
2. Open the Fairy
Image
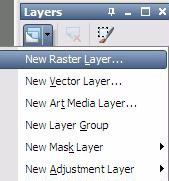
3. Add a new
Raster Layer
4. Click on the
Dropper Tool

5. Pick a light
background color for your image
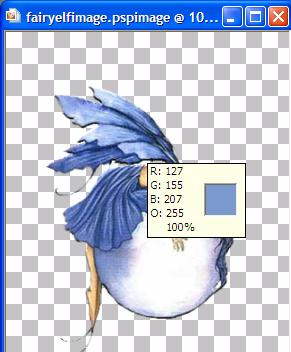
| Tip –
Remember Left click will add this
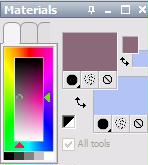
add your background color in the
Material Palette |
6. Click on the flood
fill tool 
Make sure that you are on Raster 2. It will be
highlighted in Blue.
7. With your flood
fill tool over the image, click and it will
fill the raster
with the color

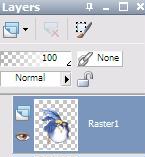
8. This is what your
layer palette should look like
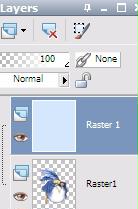
9, Move the Raster 2
layer to the bottom. You can either drag it
or go to Layers, Arrange,
Move Down

Now we are going to
have some fun with add the border and using
different effects.
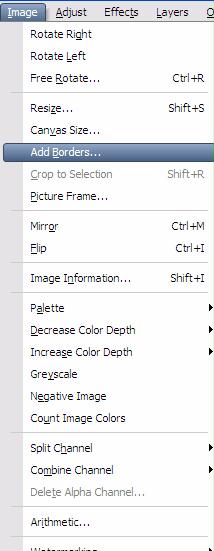
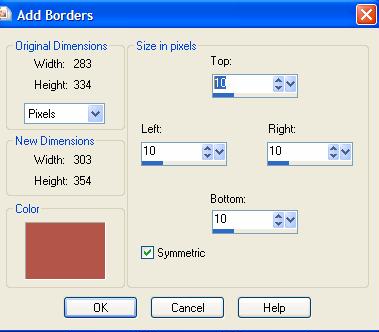
10. Go to Image – Add Border
11. Set the border properties to Pixel
size 10, make sure that Symmetric box is
checked
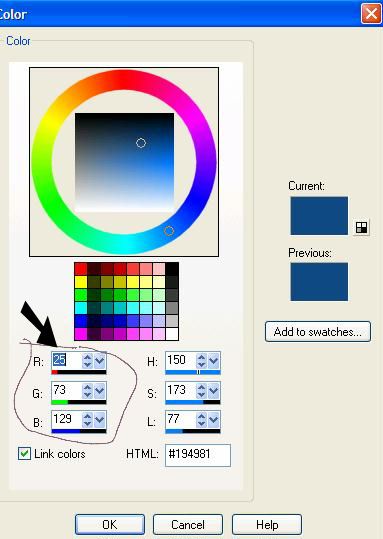
12. Let’s pick a different color for the
border. Click on the color and it will open
up the color information.

Change the Red, Green and Blue numbers to
match mine
13. Click on your magic wand tool 17 (Looks
like a “magic wand that
the wizards use.
Tutorial Page 2
Tutorial Index Page
|