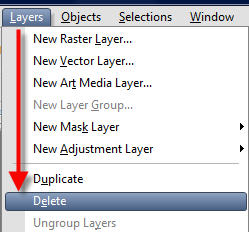
How To Apply A Mask

How To Apply A Mask
Tutorials Index
This tutorial was written by
Cathie for PSP Times Three.
This tutorial will show you a couple of ways you can apply a mask.
We are using the lovely mask you see in the header tag which was
created by Helen, one of our Members. You may visit her website
Blakes Pages as she has
many goodies to offer you.
Preparations:
1. You may want to print this out to use as a reference. Go to the very top of this page, click File, then Print. Follow the instructions for your printer.
2. Open your PSP.
3. Go to the bottom of your Windows desktop. Look at your taskbar which is located to the right of your Start button. It lists all the windows folders and programs you have open. Look for an empty spot. Right Click and hold mouse down on that blank space.
4. A menu pops up. Select "Tile Windows Vertically". You should now have the tutorial and your own PSP open side by side. This will aid you in following the tutorial.
5. You may download the mask used in this tutorial
HERE:
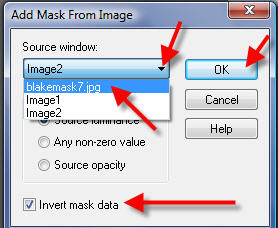
Mask From Image:
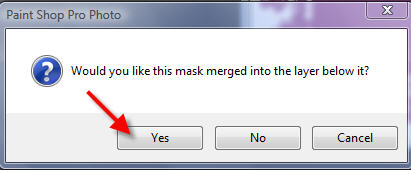
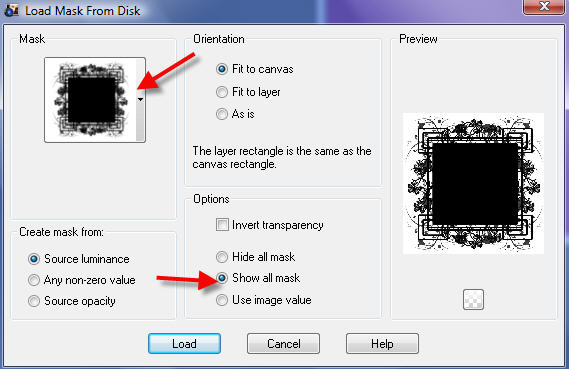
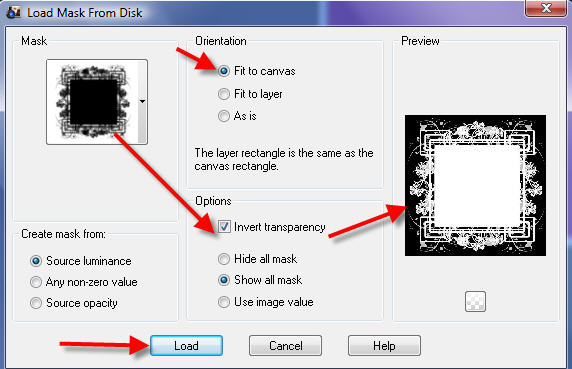
Please Note: Whenever you use a mask, The portion of it that is White is what will be shown on your finished image. If you look at this particular mask you will see by using it as is the design will be cut away and the white surrounding area is what you'll end up with. In the following instructions you will notice you're told to "Invert" the mask. What that will do is change the black area to white and white area to black therefore leaving the pattern section showing on your image.
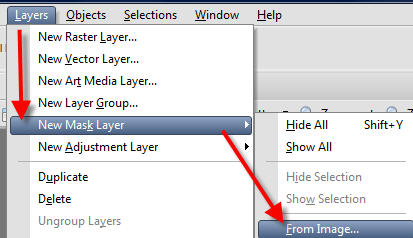
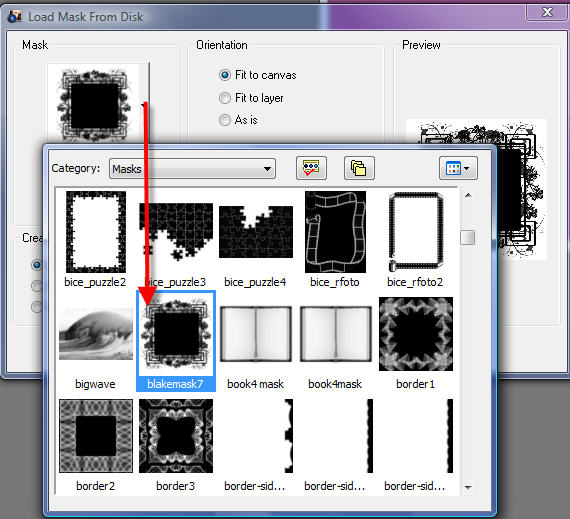
Using drop down arrow select blakemask7. Check the Invert box and click OK.
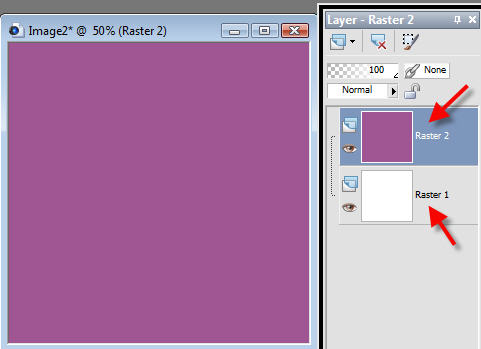
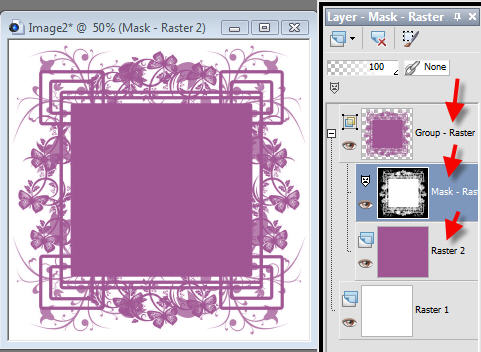
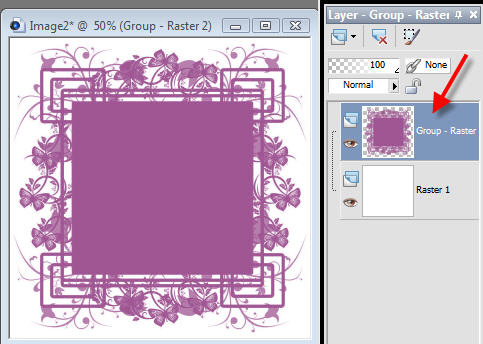
Your image and layer palette should now look like this:
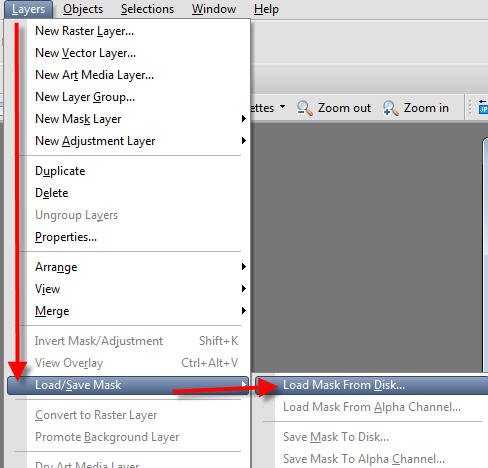
Mask From Disk:
Now you know how to apply masks using either the From Image or Load From Disk. Hope you have fun creating some beautiful tags and be sure to share them with the group!
~~~~~~~~~~~~~~~~
~~~~~~~~~~~~~~~~
Any similarities to other tutorials is merely a coincidence.
©
PSP Times Three
~March 2009~